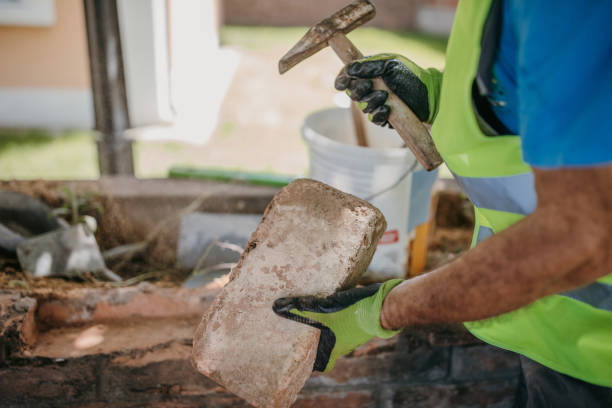
Are you tired of the rough and uneven look of your brick wall? Plastering can be a great way to give it a smooth and polished finish. In this article, we will guide you through the process of plastering a brick wall, step by step. By the end, you’ll have the knowledge and confidence to transform your wall into a stunning feature of your home.
To begin, we’ll cover the essential tools and materials you’ll need for the job. From trowels and plaster mix to sandpaper and paintbrushes, we’ll help you gather everything necessary to achieve a professional result.
Once you have everything ready, we’ll dive into the step-by-step guide, providing clear instructions on how to prepare the wall, mix and apply the plaster, and finish it off for a flawless look. Plastering may seem intimidating at first, but with our guidance, you’ll soon discover that it’s a manageable and rewarding DIY project. So, let’s get started and turn your brick wall into a masterpiece!
Gathering the Necessary Tools and Materials
Now that you’ve got all the right tools and materials, you’re ready to dive into the transformative process of giving your brick wall a brand-new look. The first step in plastering a brick wall is choosing the right type of plaster for the job. There are different types of plaster available, such as lime plaster, gypsum plaster, and cement plaster.
Each type has its own properties and benefits, so choosing the one that suits your specific needs and preferences is important. Consider factors like the brick wall’s condition, the durability level required, and the desired aesthetic finish. Once you’ve made your decision, make sure to purchase enough plaster to cover the entire wall.
Next, you’ll need to prepare the brick wall surface for plastering. This step is crucial for ensuring a smooth and long-lasting finish. Clean the wall thoroughly to remove any dirt, dust, or loose particles. Use a stiff brush or a pressure washer to scrub the surface and ensure it is free from debris.
If there are any cracks or holes in the wall, fill them with a suitable filler or mortar before applying the plaster. Additionally, it’s important to dampen the wall before applying the plaster. This will help the plaster adhere better to the surface and prevent it from quickly drying. Once you’ve completed these preparations, you’re ready to move on to plastering your brick wall.
Step-by-Step Guide to Plastering a Brick Wall
To begin the step-by-step guide, you’ll first need to ensure the surface is clean and free from debris. Use a stiff brush to remove any loose dirt or dust from the brick wall. It’s important to have a clean surface to work with, as any dirt or debris can affect the adhesion of the plaster. After brushing, you can also use a damp cloth to wipe down the wall and remove any remaining residue.
Once the wall is clean, you can start applying the plaster. Begin by mixing the plaster according to the manufacturer’s instructions. Following the recommended ratio of plaster to water is important to achieve the right consistency. Once the plaster is ready, you can use a trowel to apply it to the wall.
Start from the bottom and work up, spreading the plaster evenly across the surface. Use smooth, even strokes to ensure a uniform coat. Remember to periodically check for any air bubbles or imperfections as you work and smooth them out with the trowel. This will help you achieve a smooth finish. Lastly, avoid common mistakes, such as applying too much pressure on the trowel, which can cause the plaster to become uneven. Take your time and maintain a steady hand for the best results.

