Are you interested in learning the technique of Dutch pins for bricklaying? Look no further! Whether a beginner or an experienced bricklayer, this technique can help you achieve precise and sturdy brickwork. So, grab your tools and get ready to master the art of Dutch pins!
In the world of bricklaying, Dutch pins are a game-changer. They provide a simple yet effective way to ensure your bricks are perfectly aligned and securely in place. You can say goodbye to the frustration of uneven mortar joints and unstable structures with Dutch pins.
In just a few easy steps, you’ll be able to create straight, level, and professional-looking brickwork. So, if you’re ready to take your bricklaying skills to the next level, let’s dive into the world of Dutch pins and discover how to use them like a pro!
Understanding the Dutch Pins Technique
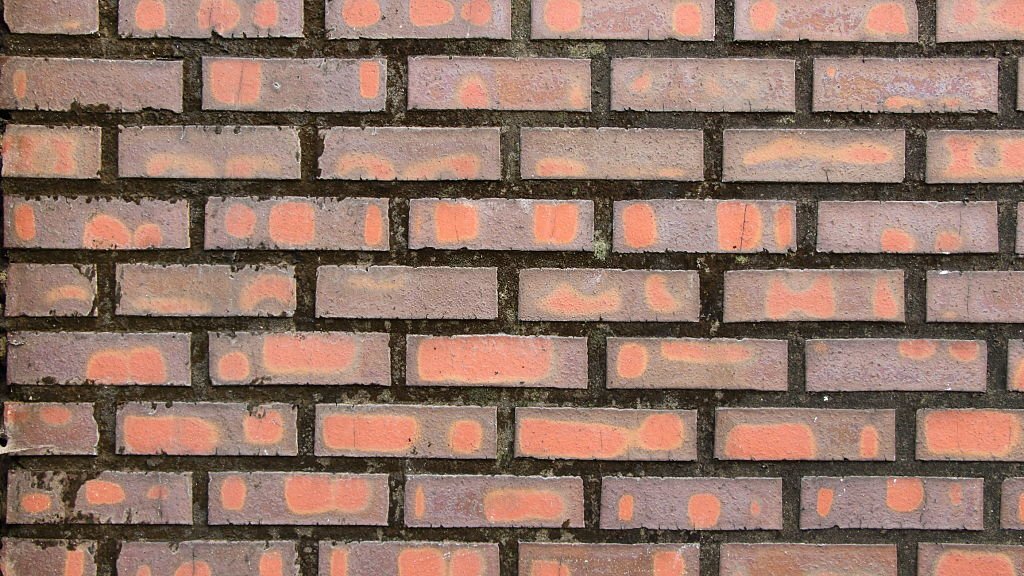
Although the Dutch pins technique, although requiring some practice, is an ingenious method that involves using small wooden pins to align and secure the bricks during the bricklaying process accurately. Professional bricklayers commonly use this technique to ensure that the bricks are laid straight and levelly.
To use the Dutch pins, you need to place them strategically between the bricks, ensuring that they are evenly spaced and aligned. Once the pins are in place, you can lay the bricks, using them as a guide to ensure each brick is positioned correctly. The pins are a temporary support, holding the bricks in place until the mortar sets and provides a permanent bond.
One of the advantages of the Dutch pins technique is that it allows for easy adjustment and alignment of the bricks. If you notice that a brick is not properly aligned, you can remove the pins and adjust the brick as needed. This flexibility makes it easier to achieve a professional-looking brickwork, even for those who are new to the craft.
Additionally, using Dutch pins helps prevent the shifting and settling of the bricks during the construction process, ensuring that the finished structure is sturdy and durable. With some practice and patience, anyone can master the Dutch pins technique and achieve impressive results in their bricklaying projects.
Step-by-Step Guide to Using Dutch Pins for Bricklaying
Start by carefully arranging the bricks using this innovative technique, ensuring a sturdy and precise foundation for your project. Begin by placing the first brick in the desired position, ensuring it’s level and flush with any adjacent bricks. Take a Dutch pin and insert it into the mortar joint between the first and second bricks. Gently tap it with a mallet to secure it in place.
Repeat this process for the remaining bricks, using Dutch pins to connect each brick to its neighbor. Once all the bricks are in place and secured with Dutch pins, it’s time to ensure they’re properly aligned.
Use a level to check the horizontal and vertical alignment of the bricks. Adjust as necessary by tapping the bricks with a mallet or adding/removing mortar. The Dutch pins will help keep the bricks in place while you make these adjustments.
When you’re satisfied with the alignment, remove the Dutch pins by tapping them with a mallet. They should come out easily, allowing you to reuse them for the next row of bricks. Continue laying the bricks row by row, repeating the process of using Dutch pins for each row.
This technique not only ensures a strong and stable structure but it also allows for easy adjustments and corrections along the way. By following this step-by-step guide and using Dutch pins, you’ll be able to lay bricks with precision and confidence. This innovative technique streamlines the bricklaying process, making it easier and more efficient. So, grab your Dutch pins and get started on your next bricklaying project today!